
Steps to Make Sure Your Walls Are Ready for a Fresh Coat of Paint
Painting your walls is one of the best ways to refresh and renew the look of your home. However, preparation is key to achieving a smooth and long-lasting finish. Understanding how to prepare your walls for painting projects can save you time and improve the outcome significantly. This guide will walk you through everything you need to ensure your surfaces are ready for a new layer of color.
The Importance of Preparing Walls Properly
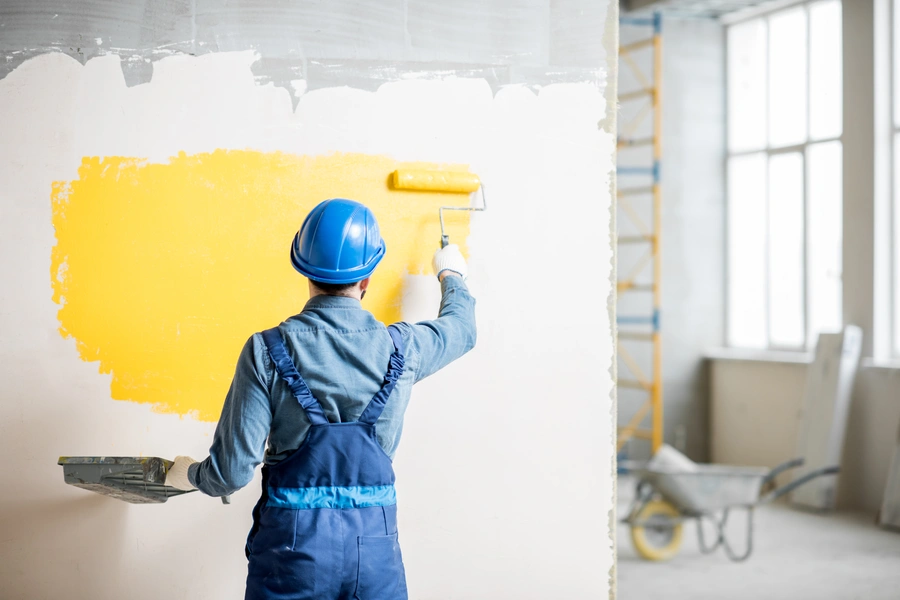
A proper preparation ensures that paint adheres better and lasts longer. It also helps in avoiding common issues like peeling or bubbling. Skipping this step might mean your efforts won’t last as long or look as good as they could. By taking the time to prep your walls correctly, you are setting the foundation for a successful painting project.
Cleaning the Walls Thoroughly
Before starting, it’s essential to clean your walls thoroughly. Dust, dirt, and grease can prevent paint from sticking properly. Use a mild detergent mixed with water and a soft sponge to wipe down the surfaces. Rinse with clean water and allow them to dry completely before moving on to the next steps.
Sanding for a Smooth Surface
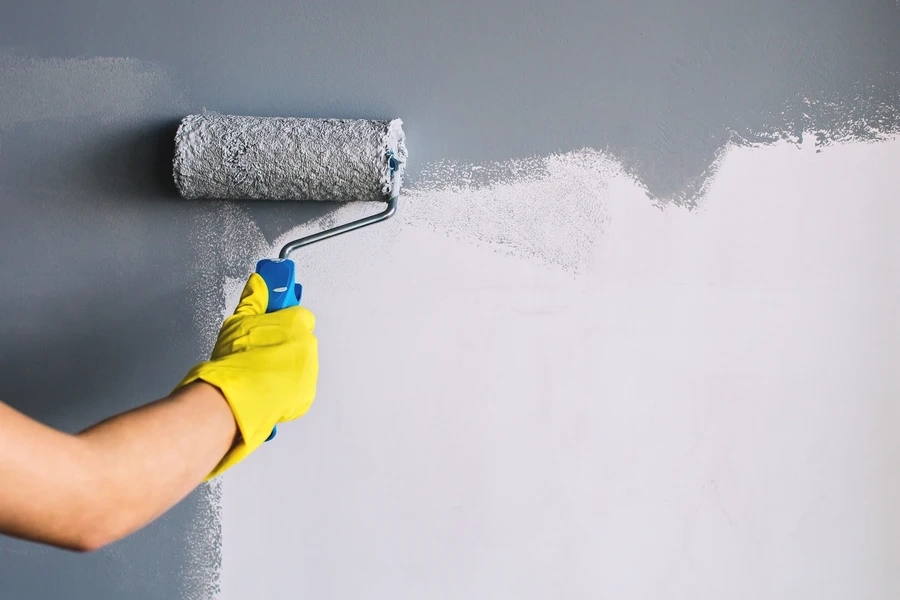
Sanding is crucial for creating an even surface. Use fine-grit sandpaper to gently smooth out any rough areas or imperfections on your walls. This process creates a slightly textured surface that helps the paint adhere better. Remember, when using sanding tools, safety equipment like masks should always be worn to avoid inhaling dust particles.
Repairing Cracks and Holes
Inspect your walls for cracks or holes that need repair. Use spackle or joint compound to fill these imperfections. After applying, let it dry completely and then sand it smooth. This step will prevent unsightly blemishes from showing through the paint later on.
Priming: an Essential Step
Applying a primer is an essential step in wall preparation. Primers help seal the surface, ensuring that paint adheres well and looks even across the entire wall. Choose a primer suitable for your wall type-whether it’s drywall, plaster, or wood. Painting services often include priming due to its importance in achieving professional results.
Taping off Areas You Don’t Want Painted
Painters tape helps protect areas that shouldn’t be painted like baseboards, trim, or windowsills. Carefully apply the tape along edges where different colors meet or where the paint boundary needs to be sharp. Properly taping off areas saves time during cleanup and ensures a polished look.
Using Professional Tools for Best Results
Investing in quality brushes, rollers, and other painting tools can make a significant difference in application ease and final appearance. Professional-grade tools help you achieve even coverage without streaks or lines. Many painting services recommend using high-quality tools as they lead to better finishes and more efficient work.
- Ensure all surfaces are clean and dry before beginning.
- Use appropriate protective gear, such as gloves and masks.
- Test primer compatibility with existing wall materials.
- Select the right kind of paint for specific rooms (e.g., bathroom vs living room).
- Perform a small patch test if trying a new type of paint or brand.
Conclusion: Final Tips for Success
By following these steps carefully, you set up your painting project for success. Whether doing it yourself or hiring professionals, understanding how each preparation step contributes to the end result is crucial. Located in Temple, TX, we offer expert advice and resources at Don's Painting and Remodeler to ensure your home improvement projects shine. For further assistance, reach out to us at (254) 624-0156. Let’s transform your space together!